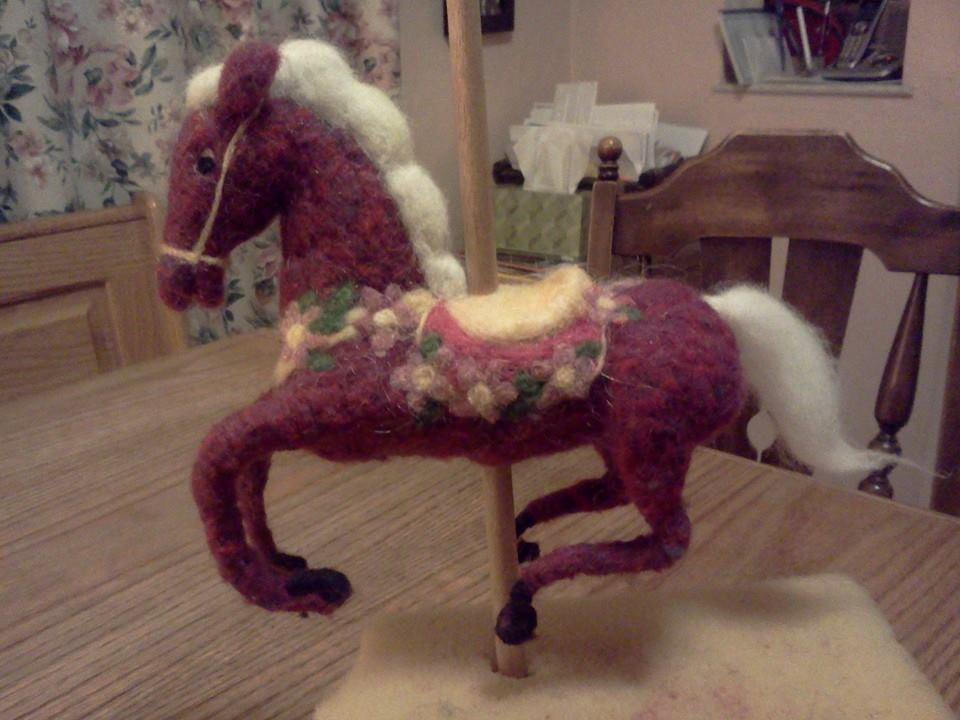
Carousel continued...
Terri Reinhart
Or thirty days, more or less, of crafting.
I have been working on crafts everyday, but I've fallen behind in posting. Here are some photos to show you how the carousel horse is developing:
Here, of course, is the wire form, made from 20 gauge florist wire. After trying a lot of different types of wire, I settled on this as it is easy to work with and inexpensive. I always start the wire form by folding the piece of wire in half. The middle fold is the nose of an animal or the neck for a gnome.
The beginning! In one of the last posts, I explained about how to wrap the folded ends - in this case, the nose and the hooves. Taking the time to do this makes it easier later on to complete those parts without the wire sticking through. DON'T FORGET TO PUT THE STICK WHERE IT NEEDS TO BE BEFORE WRAPPING THE HORSES BODY!!
Okay. I did forget on two of them - no, three. It was a pain to try and make a hole in the horse after I had felted it firmly. You won't make that mistake because I've warned you.
Here's one which is nearly ready to add the top layer of color. These have all started out blue because I had a lot of blue wool I knew I wasn't going to use for anything else.
What do you call a bunch of horses on sticks? HORSE D'OEUVRES!
Next - putting on the finishing colors and designs.


